How to Replace Your Dryer Drum: Step-by-Step Guide
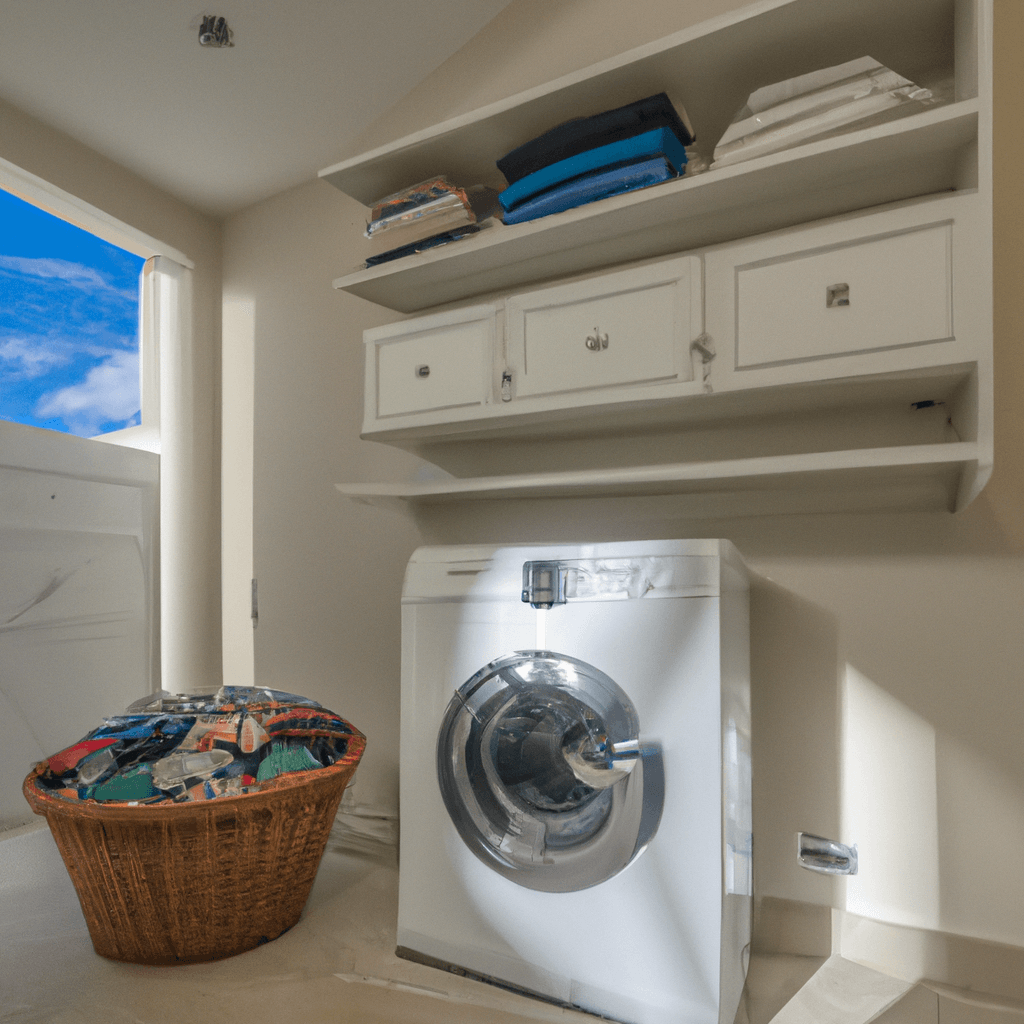
Dryer drums come in all shapes and sizes and are an essential part of your laundry room. Whether you've needed to replace your dryer drum because it's been damaged or due to wear and tear, knowledge of the process can ensure you do the job right. Below, we'll walk you through the steps needed to properly remove and replace a dryer drum.
Safety First
Before you start the replacement process, make sure that the power to your dryer is unplugged. In addition, make sure to check the drum for any sharp edges that you might encounter during the process.
Supplies You'll Need
To start, you'll need the following supplies:
- New dryer drum
- Adjustable wrench
- Screwdriver
- Pressure gauge.
Step 1: Remove the Drum
Using an adjustable wrench, remove the screws from the back panel of the dryer. After the screws are loose, carefully remove the back panel from the dryer. You'll see the drum behind the panel and around the dryer blower fan. Unplug the power cord from the rear of the dryer and remove the belt from the pulley, then carefully slide the drum out of the dryer.
Step 2: Install The Drum
Once the drum is out of the dryer, place it in a safe place. Make sure to check the drum for any debris as well as any physical damage, such as dents or cracks.
Now grab the new dryer drum, slide it into the dryer, and then connect the power cord to the back of the dryer. Now you'll need to re-install the dryer panel and secure it by replacing the screws.
Step 3: Perform Maintenance
Once the new dryer drum is installed and the back panel is securely in place, it's important to perform some maintenance to ensure the dryer works properly.
Start by reconnecting the belt to the pulley and adjusting the tension using a pressure gauge. To ensure that the belt is calibrated correctly, make sure that it reaches a tension of 10lbs, using the pressure gauge.
After the belt is adjusted, plug the power cord back in and turn the dryer on to make sure it's working properly.
Conclusion
Replacing a dryer drum can seem daunting, however, following these simple steps can ensure that the job is done right. If you still have any concerns or questions, consider contacting a reliable local appliance repair service. They can help walk you through the process and assist you in replacing your dryer drum.
If you wish to read more information about Dryer drum replacement, click here. Additionally, if you are in San Diego and need help replacing your dryer drum, you can contact the experienced and reliable appliance repair technicians at Local Reliable Appliance Repair at tel:(866) 516-1222 or click here


Dryer Drum Replacement: Preventive Action to Avoid Issues
Effective preventive action can help avoid dryer drum replacement issues. Below is a list of recommendations to keep a dryer running smoothly:
Clean the Dryer Vent
Regularly clean the dryer vent to ensure dirt and lint do not build up and reduce air flow. This will help keep the dryer running efficiently, minimizing costly repairs down the road.
Clean the Dryer's Lint Trap
Make sure to clean the lint filter before and after each load of laundry. Over time, lint can build up and cause the dryer to run inefficiently or even stop working.
Have the Dryer Professionally Serviced
Have the dryer professionally serviced every two years. This will help identify any potential problems and make sure all of the internal parts are working correctly.
Avoid Overloading the Dryer
Overextending the dryer's capacity can overload the motor and cause it to overheat, leading to costly repairs.
Check the Vent System Regularly
Regularly check the vent system to make sure it is not clogged or blocked. If found, it should be cleared to maintain proper airflow and keep the dryer running efficiently.
Replace the Belt Regularly
The dryer's belt should be replaced every two to three years. This will help keep the dryer running smoothly and prevent costly repairs from being needed.
Select the Right Setting
Make sure to select the correct setting for each load of laundry. This will help make sure the dryer is not running too hot, minimizing the risk of overloading the motor or causing other damage.
By following these recommendations, it is possible to significantly reduce the risk of needing a dryer drum replacement. In addition, it is important to have a local, reliable appliance repair technician on call in case of any emergency repairs or maintenance.
Repair Cost for Dryer Drum Replacement in San Diego
If you need dryer drum replacement in San Diego,the repairs tend to start at a minimum of $220 and can go up to the complex repair or installation cost of $650. Depending on the necessary parts, the cost can vary in the city of San Diego.
The most commonly replaced parts for a dryer drum replacement in San Diego may include items such as the rollers, pulley, belts and the rear drum seal. The cost for labor for replacing these parts can the range of $130 to $220. Additionally, other details that may be required depend on the type and model of the dryer and can include a dryer belt kit, a dryer repair kit, new drum bearing and a dryer vent kit. Parts and materials may also cost extra.
For the best professional advice or a detailed itemized list of the most commonly replaced parts, we suggest you call Local Reliable Appliance Repair. They offer quality repair services at the most competitive rates. For better results, it is always beneficial to be informed about the repair cost in-depth for both parts and labor.
Dryer Drum Replacement Is Easier with Reliable Appliance Repair
If you're in San Diego and need a dryer drum replacement, contact Reliable Appliance Repair at (866) 516-1222 for hassle-free and comfortable experience and peace of mind.
Reliable is a local, family-owned HVAC and appliance repair shop that always puts their customers first. As a first-time customer, you can get $25 off your labor. Their technicians are certified and highly trained with over five years of experience in the industry, so you can trust them to provide quality service at a fair, competitive price.
The company also offers same-day services and believes in providing excellent customer service. They understand that you need fast, effective appliance repair and maintenance, so they strive to provide it to you as quickly as possible.
Reliable Appliance Repair is proud to be a local San Diego provider and is licensed and insured for your protection. If you're looking for same-day dryer drum replacement, count on the experts at Reliable Appliance Repair for the job. Contact them at (866) 516-1222 today for the best service in the area.
FAQ – How to Replace Your Dryer Drum: Step-by-Step Guide and Dryer Drum Replacement
What tools are necessary to replace the dryer drum?
Use a packed socket wrench, pliers, and a screwdriver to complete the replacement.
How do I access the dryer drum?
Open the dryer's back panel to gain access to the drum. Then, turn off the dryer, unplug it, and disconnect the associated venting hose.
How do I remove the drum?
Using a screwdriver, remove the dryer drum’s belt and the spin drum, then take out the rear drum bearings and the glides. Lift out the drum and set it aside.
What should be done while replacing the dryer drum?
Clean any lint or debris collected on the interior of the dryer. Then, check for any worn parts, such as the glides or the belt, to identify which need to be replaced.
How do I install the new drum?
Install the new drum, aligning the bearing, glides, and belt. Connect the drum drive motor and belt. Directly below, replace the spin drum and replace the back of the dryer.
If you need help or have questions regarding how to replace your dryer drum, please call Local Reliable Appliance Repair at (866) 516-1222.